
Set up Technitium DNS Server and Issue SSL Certificate with acme.sh
I've recently started working with Technitium DNS Server again, and realized that my previous documentation was a bit lacking, so here's an updated guide.
Install acme.sh
curl https://get.acme.sh | sh -s email=youreMailAddressSet environment variables
export CF_Token="your_API_token"
export CF_Zone_ID="your_zone_ID"
export CF_Account_ID="your_account_ID"- You can create your Cloudflare API token under 👤 (top right) → Profile → API Tokens
- Zone ID and Account ID can be found at the bottom right of your Cloudflare domain dashboard
Issue the certificate
acme.sh --issue --dns dns_cf -d dns.235421.xyzReplace the domain after -d with your own.
Install the certificate
acme.sh --install-cert -d dns.235421.xyz \
--key-file /root/certs/key.pem \
--fullchain-file /root/certs/cert.pem \
--reloadcmd "cd /root/certs && openssl pkcs12 -export -out 'dns.pfx' -inkey 'key.pem' -in 'cert.pem' -password pass:1021"
reloadcmdis a shell command that runs after certificate issuance and during automatic renewal.- This command converts the .pem key and cert into a .pfx file using a password (in this case,
1021). This avoids interactive prompts during automation.
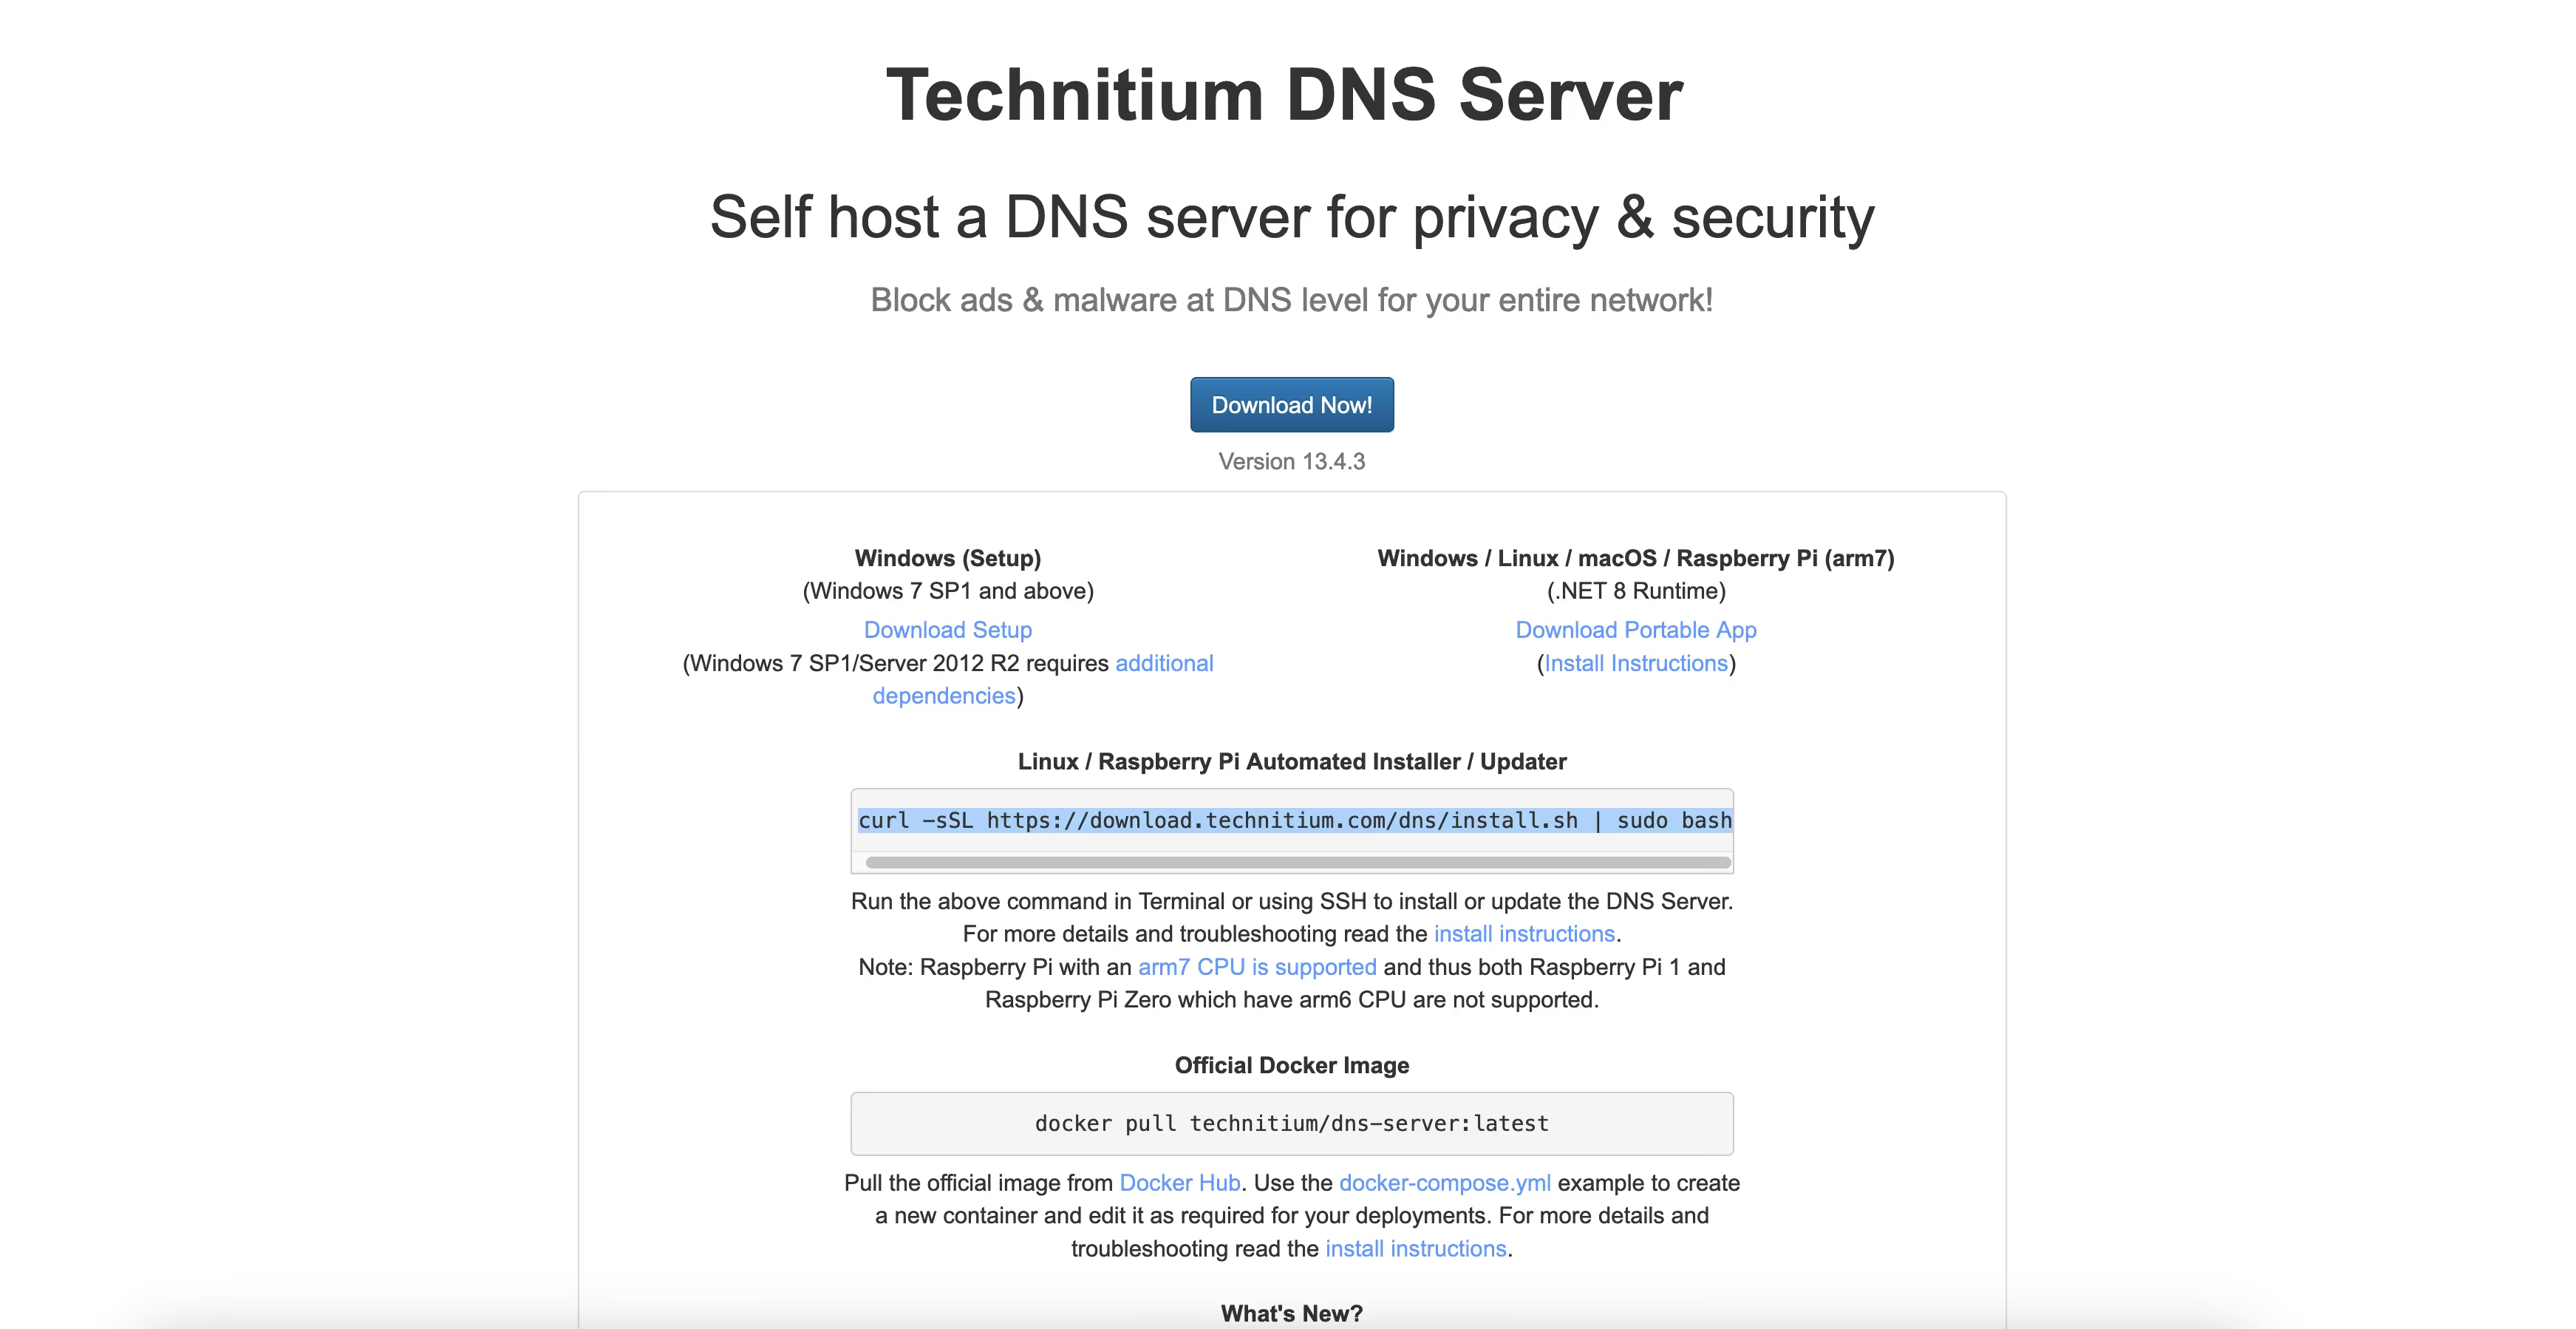
Install Technitium DNS Server
- Visit Technitium DNS Server official site to get the install script. Docker and Windows versions are available.
- After installation, visit
http://your-public-ip:5380. Set the admin password (default user:admin). - Go to Settings → Optional Protocols to enable DNS over HTTPS (DoH).
- Set
TLS Certificate File Pathto the .pfx path - Set
TLS Certificate Passwordto your password (e.g. 1021)
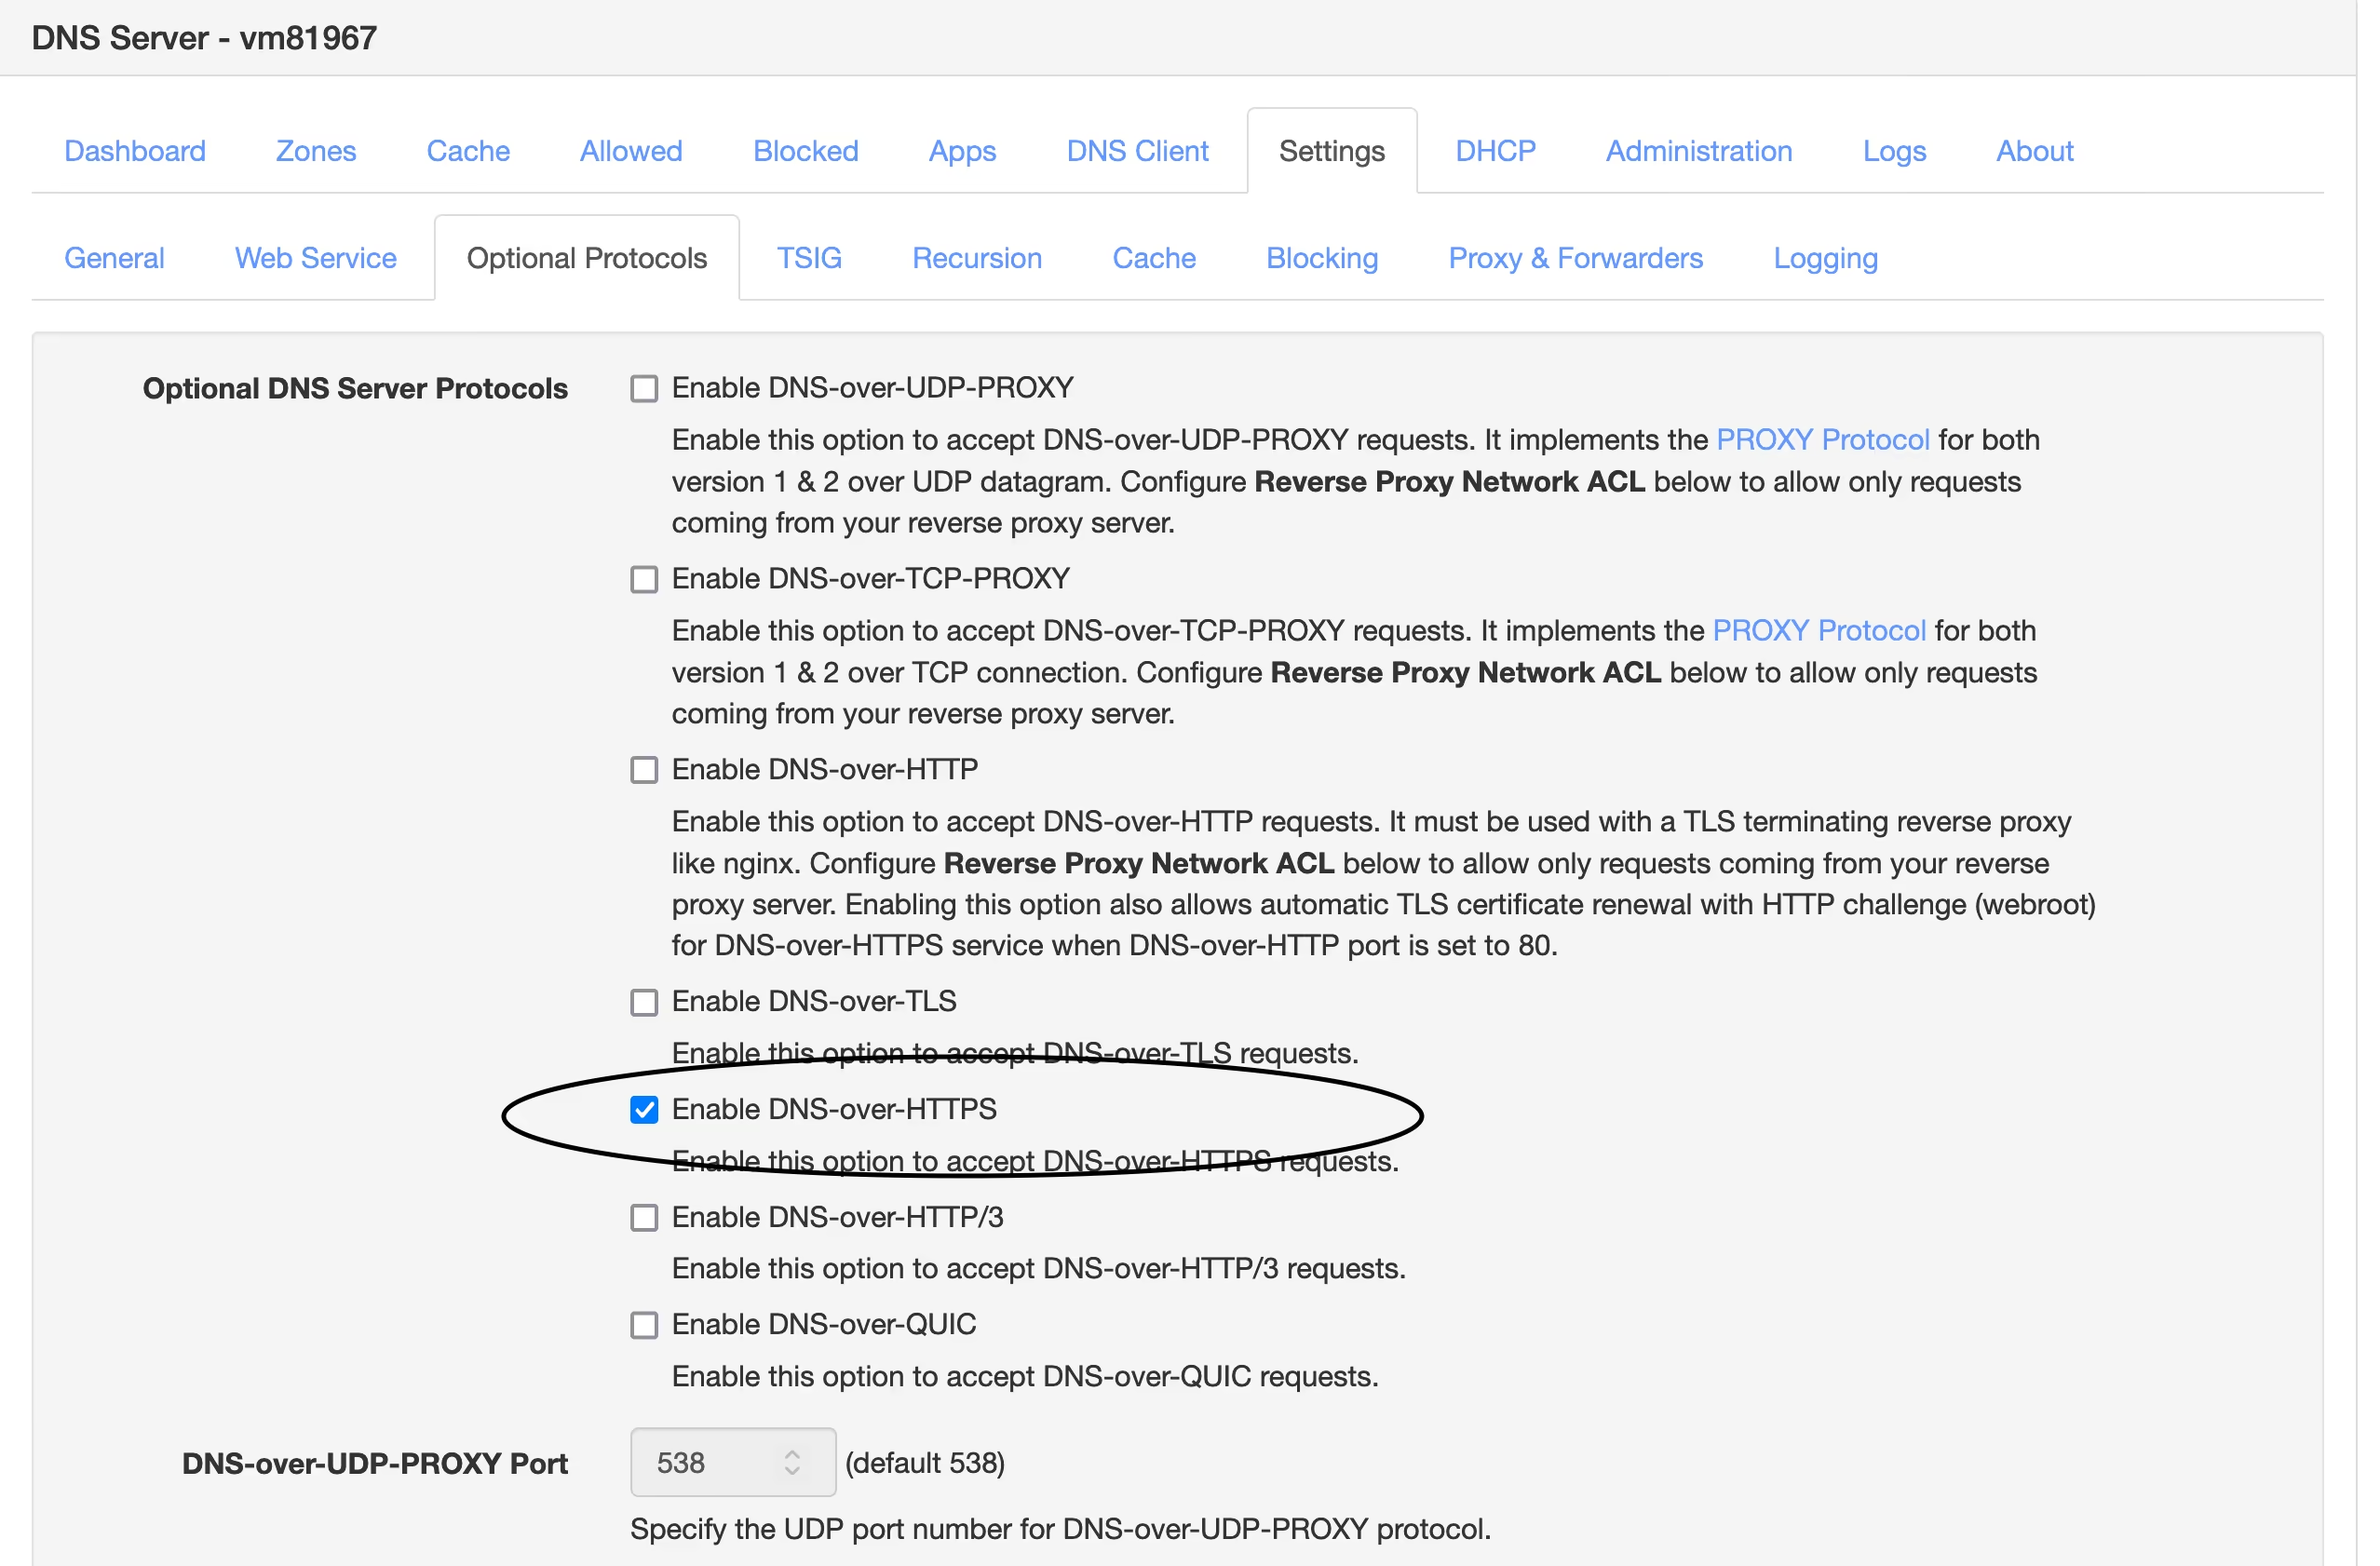
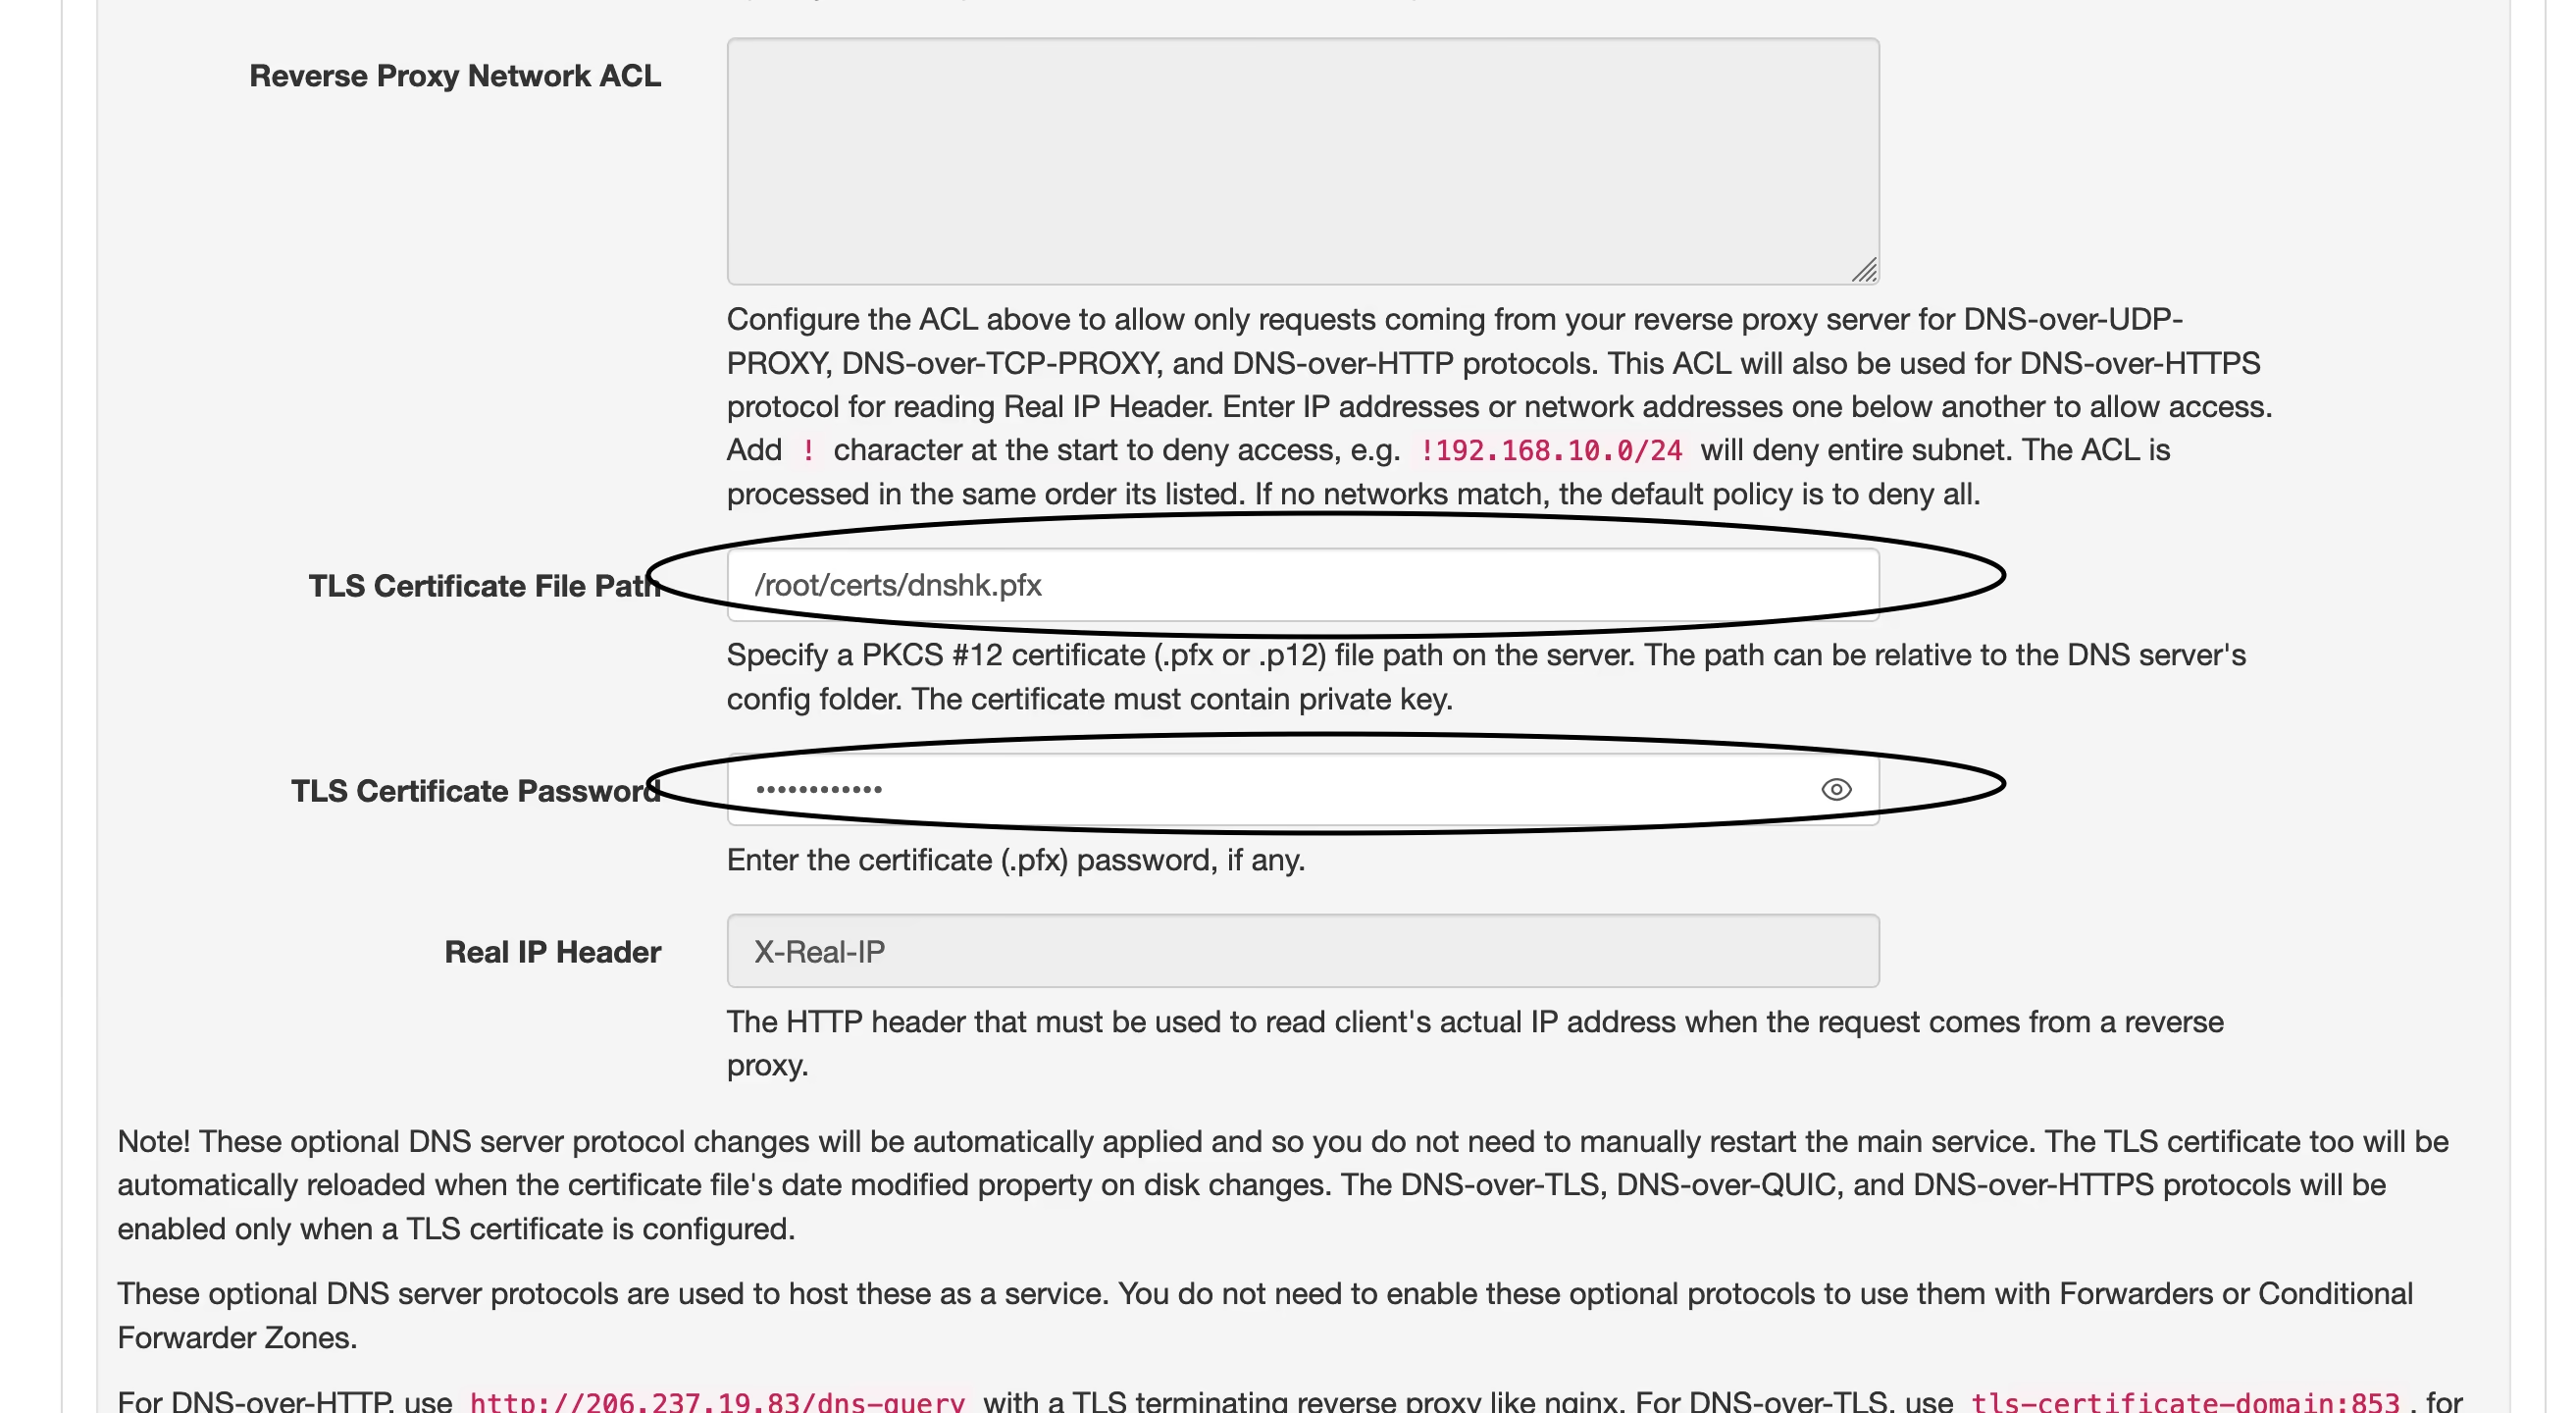
- Set
- Once setup is complete, test by visiting
https://yourdomain.com/dns-query. It should show a success page like this: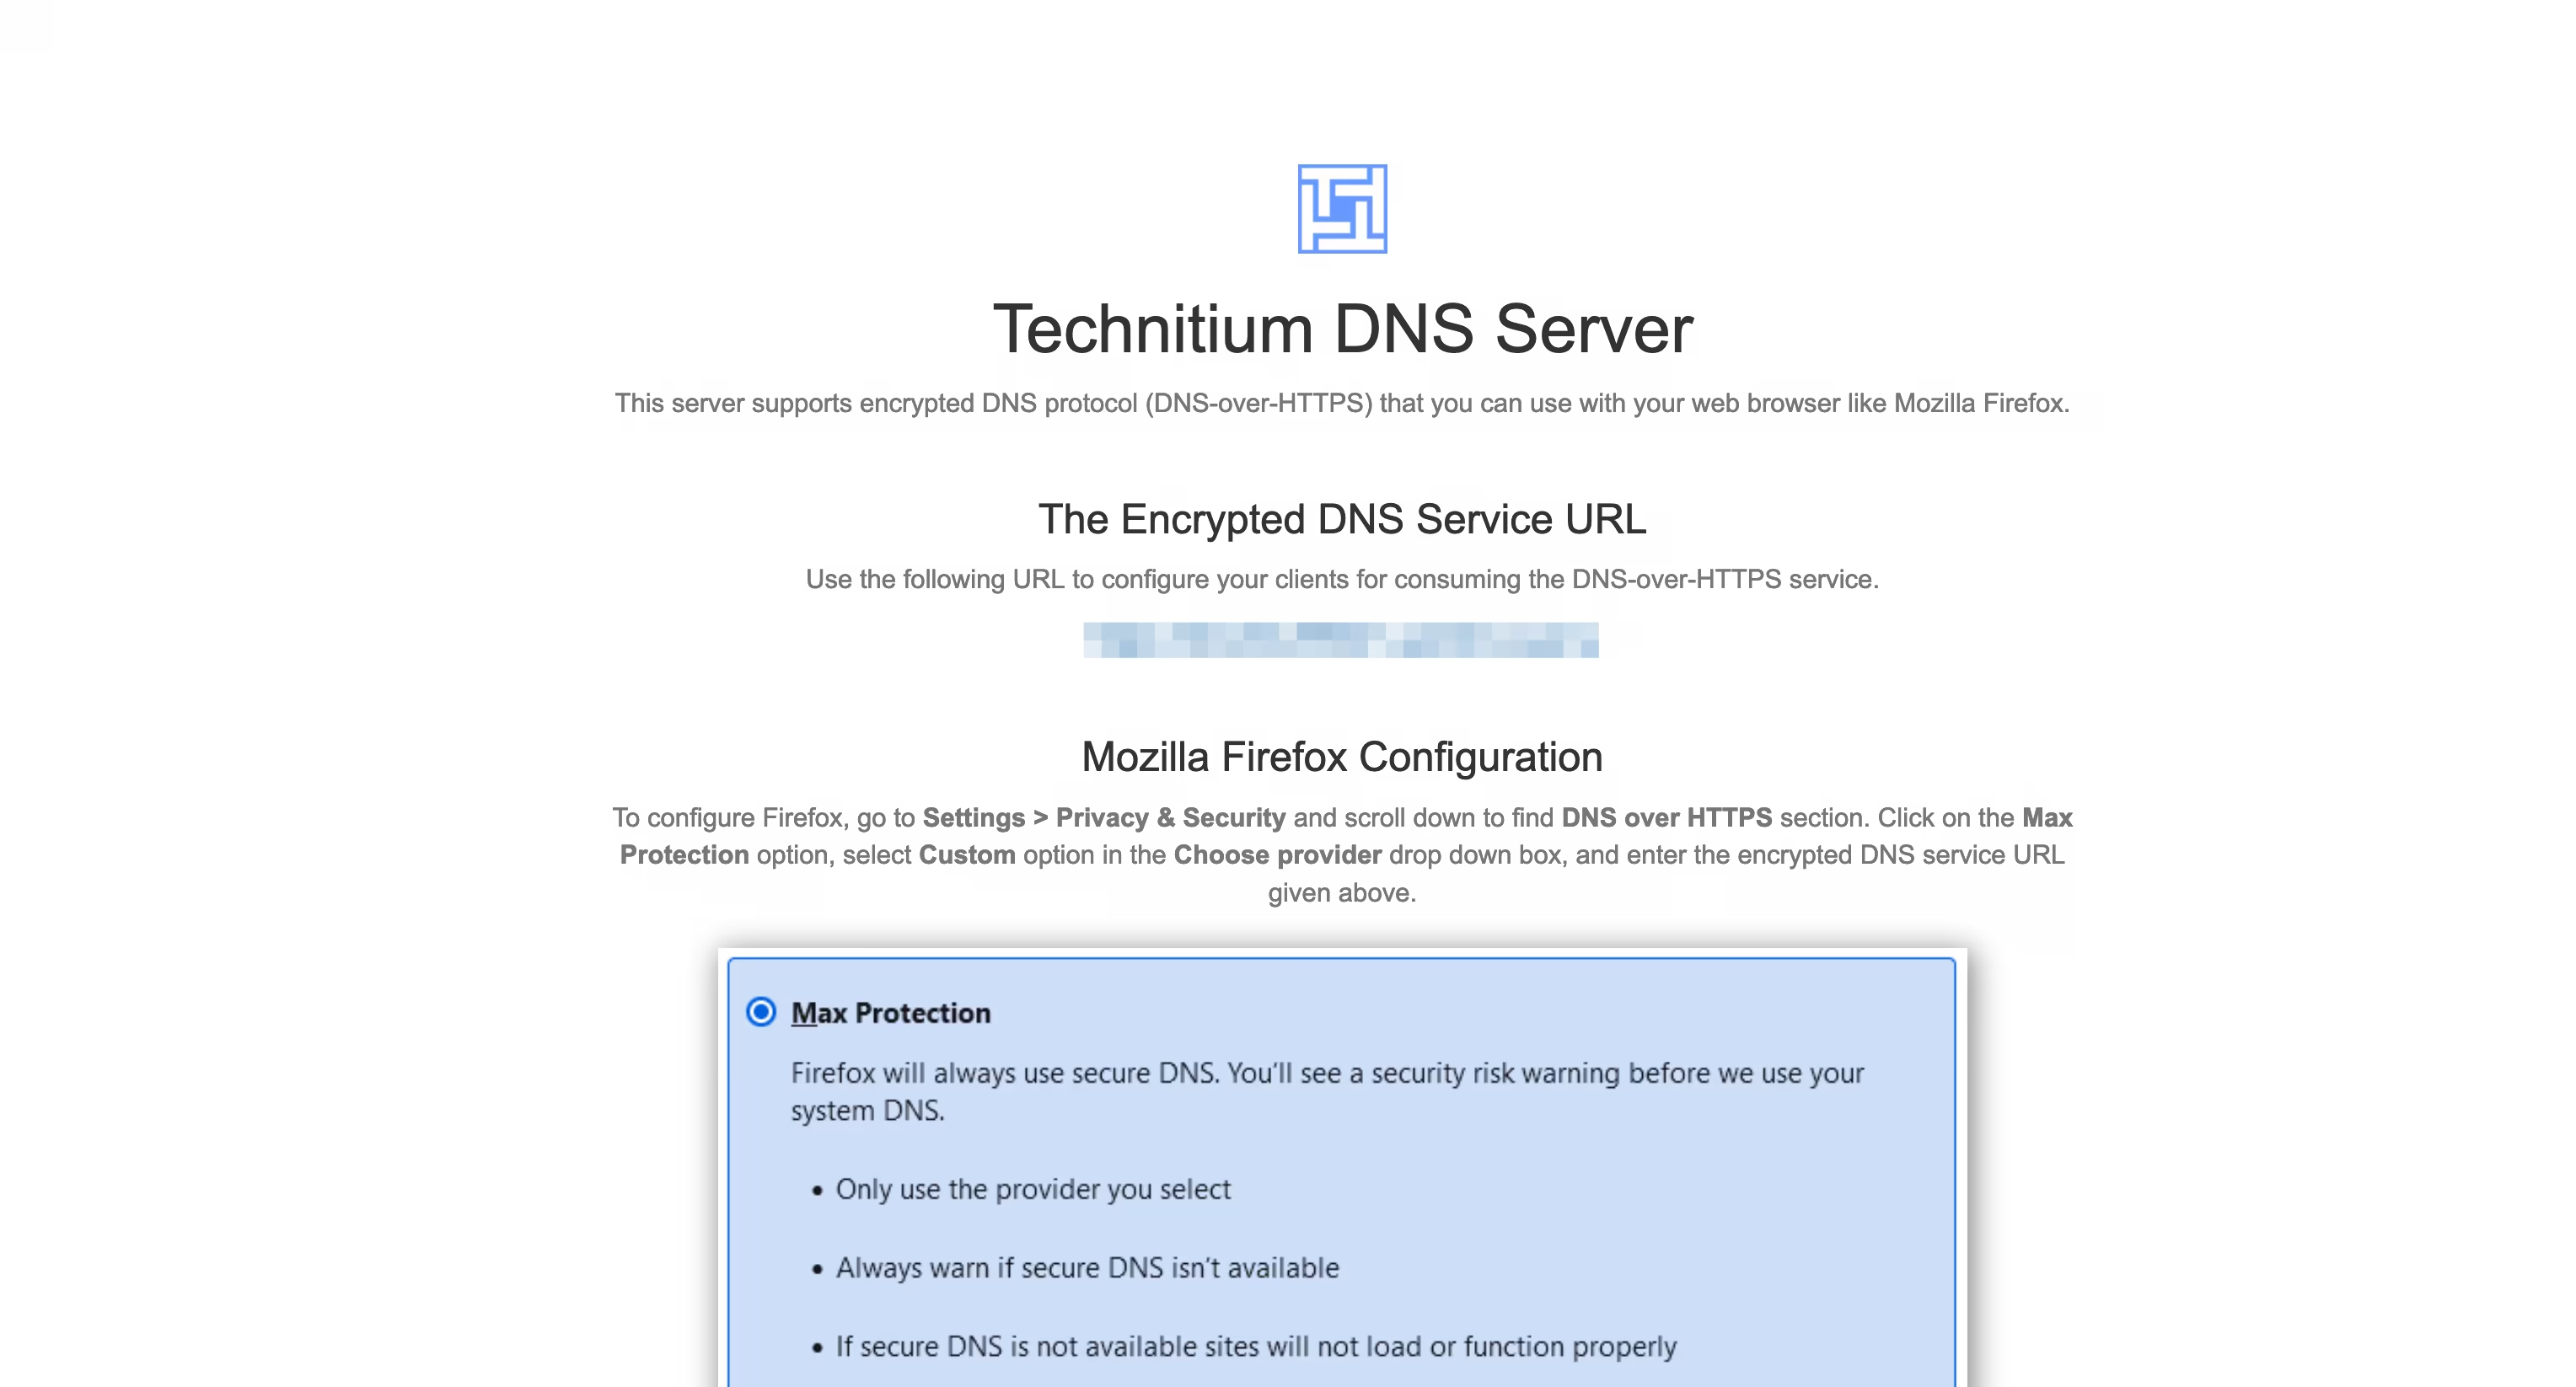
Previously, I used DNS over HTTP with Nginx reverse proxy to achieve DoH. Now, DoH is directly supported by Technitium, eliminating the need for Nginx. The only extra step is converting the certificate format, which is much simpler overall.
My Configuration Tips
- Enable Allow Recursion under Settings → Recursion
- Increase Cache Maximum Entries under Settings → Cache (default is only 10,000)
- Enable EDNS Client Subnet (ECS) under Settings → General
- Enable Use Local Time under Settings → Logging
- Install Query Logs (SQLite) from Apps → App Store for DNS query logging
Optional Settings
- Enable Prefer IPv6 under Settings → General
- Enable HTTPS for the web admin UI under Settings → Web Service (port 53443 by default)
- Enable blocking in Settings → Blocking. Use standard AdGuard Home rule lists. Whitelist entries must start with
!. - Configure upstream Forwarders under Settings → Proxy & Forwarders
- Extend session time under Administrator → My Profile → Session Timeout. Set to
86400seconds for 24h login persistence.

Joomaen
"Closed Mind" is a personal blog focused on artificial intelligence, tech tinkering, and the blogger’s personal thoughts. It shares unique insights on AI development, browsers, and technical practices, making it ideal for readers interested in technology and future trends.


